Handmade Christmas: Carve a wooden star decoration
Although Christmas decorations are readily available in many shops, nothing beats a hand-carved ornament for making the holidays all the more special.
In this project, Peter Benson, author of Woodland Whittling, will teach you how to carve a wooden star decoration with a natural or painted finish. For those with some familiarity with woodcrafting, these step-by-step instructions will guide you to make the perfect ornament for a sustainable, DIY Christmas.

What you'll need to carve your wooden star decoration:
Materials:
- Any wood is suitable for this project. Peter says, "I used some offcuts around 3⁄8in (10mm) thick. Choose some thin offcuts of a suitable wood; thickness is not critical, but try not to use anything too thick or hard. Your local timber yard will probably cut something to the required thickness if you cannot do so. You can make your star whatever size you wish; just enlarge or reduce the pattern to suit. I chose a piece of jelutong 3 1⁄2in (85mm) wide and 3⁄8in (10mm) thick."
Tools:
- Paper and pencil to plan the design
- Carbon or transfer paper and marker pen
- Knife (use a craft knife or a chip carving knife if you have one)
- Safety glove
- Coping saw or bandsaw
- Abrasives
- Screw-in loop to hang the star
- Finishing oil
DISCLAIMER: The tools used to carve the wooden star are sharp and dangerous if not used correctly. They should be stored away from children. Yodomo holds no responsibility for any harm or injury caused by doing this course.
Step 1: Your downloadable star template
Design a star pattern using pencil on paper, or use this template and reduce or enlarge it to the size you need.
Step 2: Trace the pattern
Using carbon or transfer paper, make an accurate copy onto your wood, arranging it so that there are as few points as possible with cross grain. Don’t cut out the wood at this stage, as you will need somewhere to rest your hand while cutting. Be as accurate as possible with this as you will be cutting to the line, and a wavy line will result in a wavy cut.

Step 3: Practice cutting
Practise on waste wood before you cut the pattern out on the final wood. You will need to angle the knife blade to around 45 degrees.
Top tip: If you are cutting a section that is adjacent to one that has been cut out already, leave the side next to this section until you have cut the other two. This will minimise the chance of the wall between them breaking away.

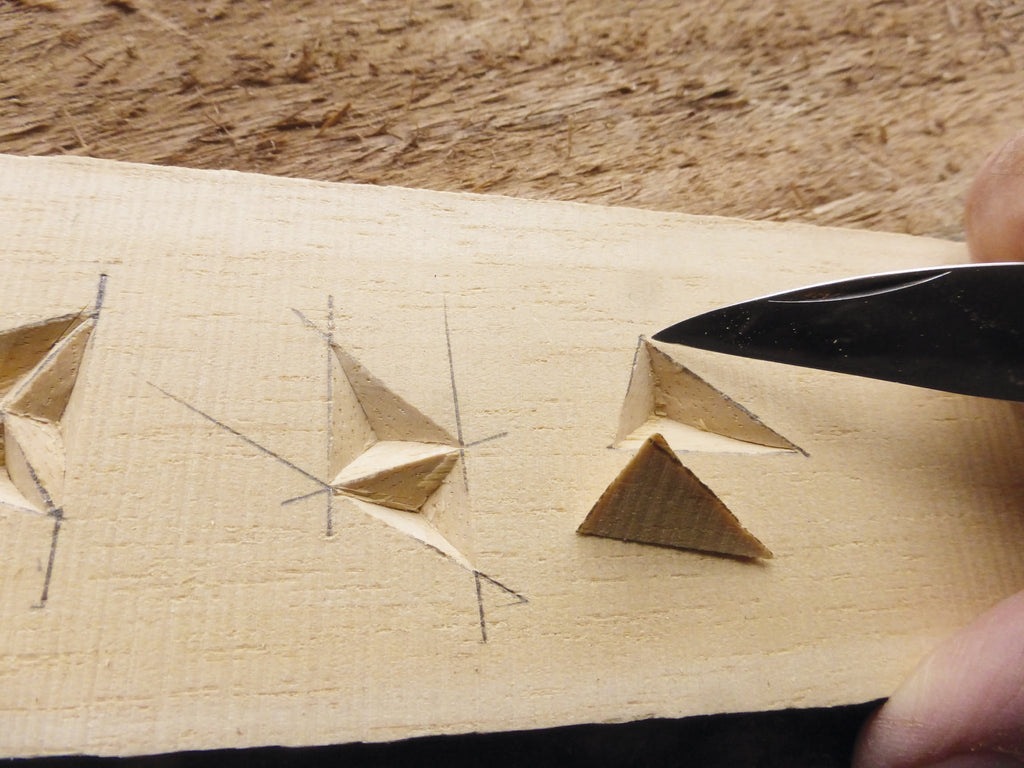
Step 4: Make shallow cuts
Keeping your hand in contact with the wood, start with a very shallow cut at the furthest end of the line and slice to the middle, getting deeper as you go. Once you reach the middle, pull the knife gently towards the near end of the line, getting shallower until it comes out of the cut at the point of the triangle. This will give you a cut that is deeper in the middle than the ends.

Step 5: Repeat with other sides
Repeat for the other two sides when, with luck, the centre will pop out. If it doesn’t, repeat each cut a little deeper until it does. Slicing cuts, always cutting towards you, will give you the best chance of success.
Step 6: Use technique on pattern
Repeat this technique for each of the marked sections on your pattern.

Step 7: Draw around the edges
When you have cut out each section, draw lines all round the edges about 1⁄16in (2mm) from the edge of the pattern. If you examine the picture carefully, you will see that a small section has broken away. This is very common with softer woods. If you wish to leave the star unpainted, it will mean you have to start again. However, if you are intending to paint it, you can add a little filler beforehand and it will not be noticeable.

Step 8: Cut out the star
Using a coping saw or bandsaw, cut out the star, taking care not to go inside the lines you have drawn.

If you are outside these lines, don’t worry: you can trim the edges afterwards.

Step 9: Trim and sand
Carefully trim the edges and then sand to a neat finish.
Top tip: By its nature, the knife blade is wedge-shaped and can tend to push the sides of the cut outwards. You may find it better to make several light cuts rather than one deep one, especially next to a part of the pattern that has already been carved. Be very gentle at the points of each cut, as the cut is very shallow here.

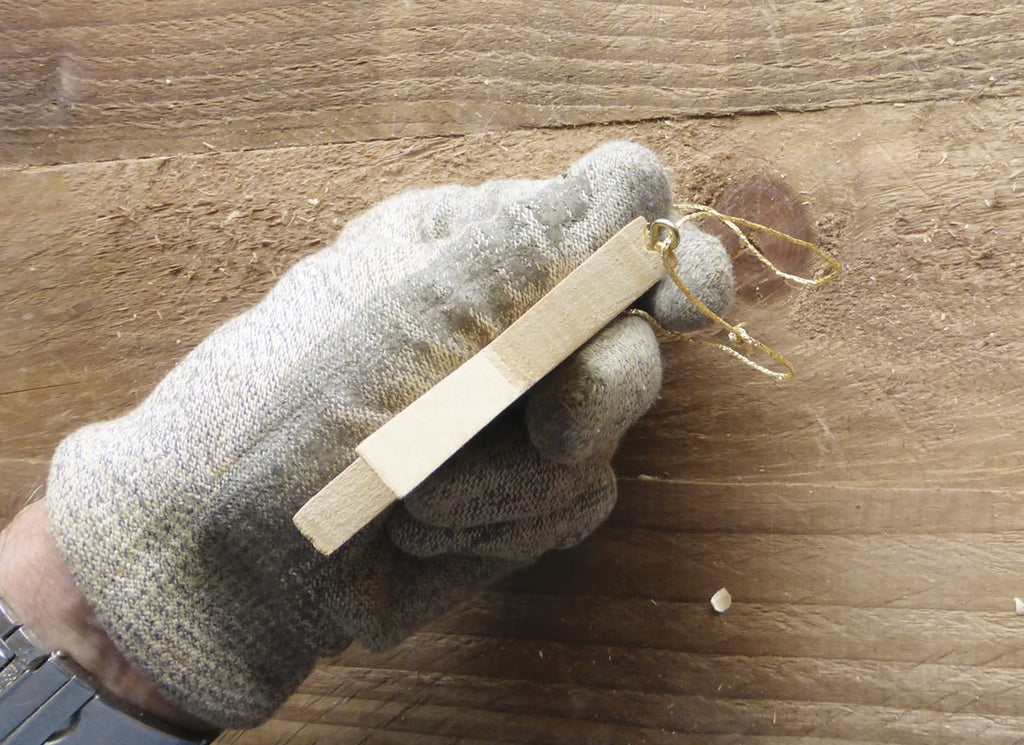
Step 10: Hanging the star
Flatten off one point and insert a small screw-in loop to hang the star. Apply some finishing oil and allow to dry.
Your completed wooden star ornament
Congratulations! You've created your own wooden star.
Now why not experiment with alternative designs? If you wish to have a painted finish, you might find it easier to apply the paint before you start, giving the contrasting effect when carved. Or you might like to leave the star in the square block rather than cutting it out.
