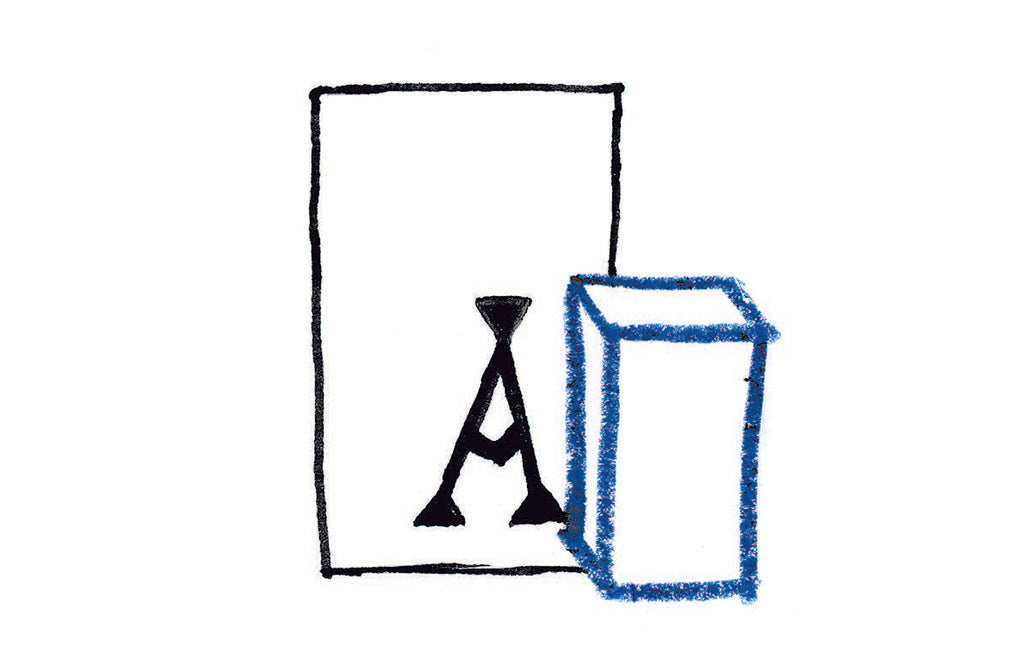
A rubber-stamp alphabet is an essential part of any stamp artist’s box of tricks. Make your own set for a unique spin on this crafty staple, and use them to create one-of-a-kind artworks, prints, greeting cards and more.
Artist and illustrator Stephen Fowler explains how to create rubber DIY alphabet stamps using erasers and items found around the house.

What you'll need to make a DIY alphabet stamp set
- Photocopied alphabet letters (taken from typeface books or online sources)
- Masking tape
- A bottle of acetone, e.g. nail polish remover
- Paper towel
- Teaspoon
- Erasers
- Scalpel
Step 1
Cut out each of the photocopied letters.

Step 2
Make a start with the letter A. Cover it with an eraser and hold it in place with a piece of tape.

Step 3
With a little acetone on a paper towel, gently wipe the paper so that it gradually becomes transparent, taking care not to inhale the fumes.

Step 4
Transfer the letter by burnishing the back of the paper with a teaspoon.

Step 5
Now take your time and carefully carve the letter in relief. Incising a perfectly clean, sharp alphabet will be painstaking slow, but well worth it.

Congratulations! You've now completed your first DIY alphabet stamp.
Now move on to the rest of the alphabet, or just the letters of a word you want to stamp often, such as "Happy Birthday" or your name.
For your next project, learn how to draw with this course and kit that includes all the materials you need, or have a browse through our other courses, including papercraft, ceramics, drawing and macrame.
Do share the things you've made with us and our community on Instagram - #yodomomakes - we love to see your creations.
Use left/right arrows to navigate the slideshow or swipe left/right if using a mobile device


